Groups and Alerts
Groups
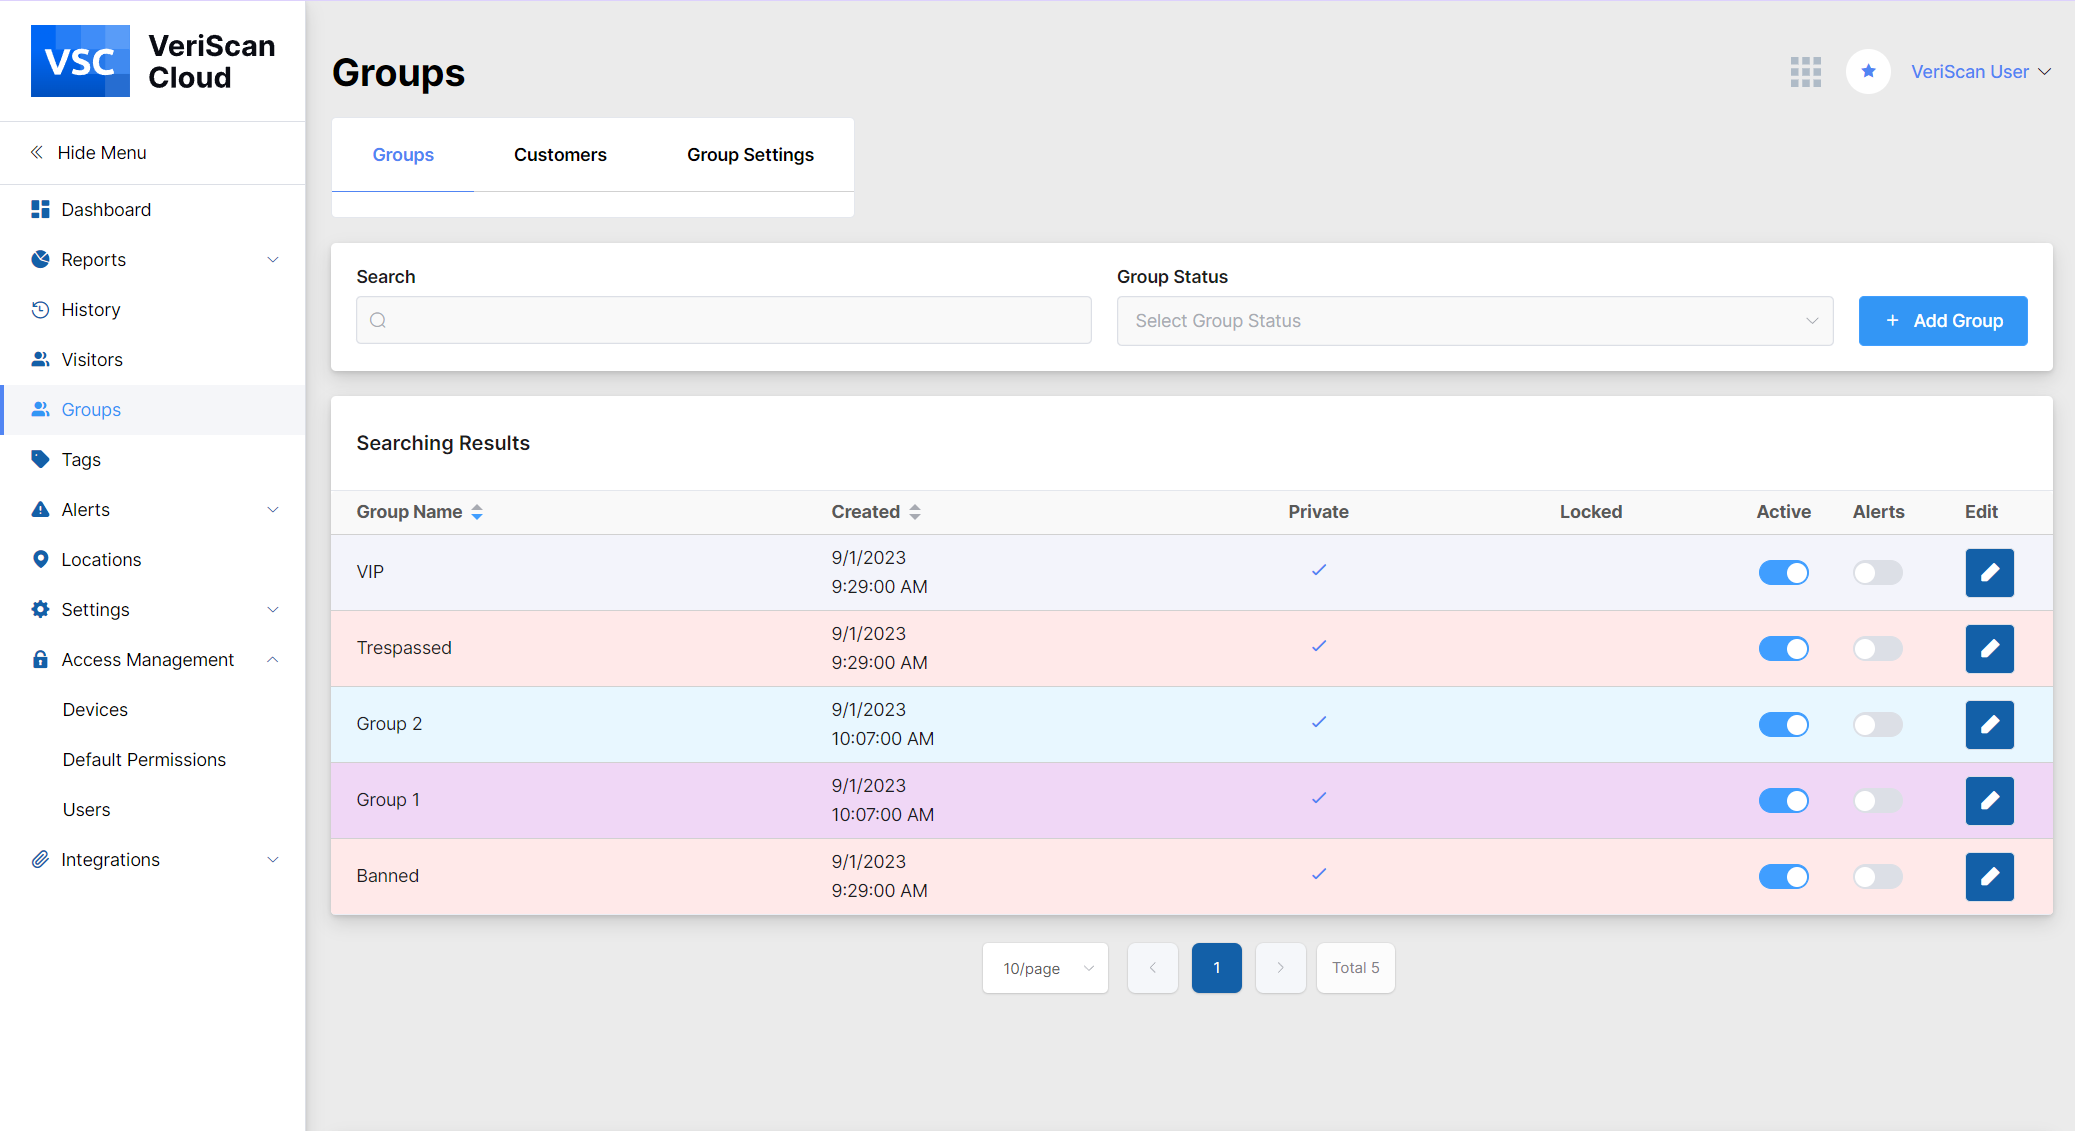
The Groups tab allows you to create groups so you can categorize your visitors and manage them accordingly.
Active/ Inactive
If you click on the Group Status field, the drop-down list with Active/Inactive options is shown, by selecting the option you can see the groups you made inactive. All you have to do if you want them to become active again is click on the activate button.
Group Name
Here the group name is displayed. You can create any type of group name, whether it is VIP, Banned, Pre-registered, Do Not Admit, etc.
Created
This column tells you the exact date and time that the group was created.
Private
The group with the blue arrow shows that this group is private and will be kept within your account. The absence of the arrow means that the group can be shared within your membership.
Locked
This column denotes whether a group is locked or not. If the group is locked, it means it cannot be altered on the mobile(or desktop) device. The device operator will be able to view the group, but will not be able to change it. The group can only be modified via the VeriScan Cloud portal by the adminitrator.
Color
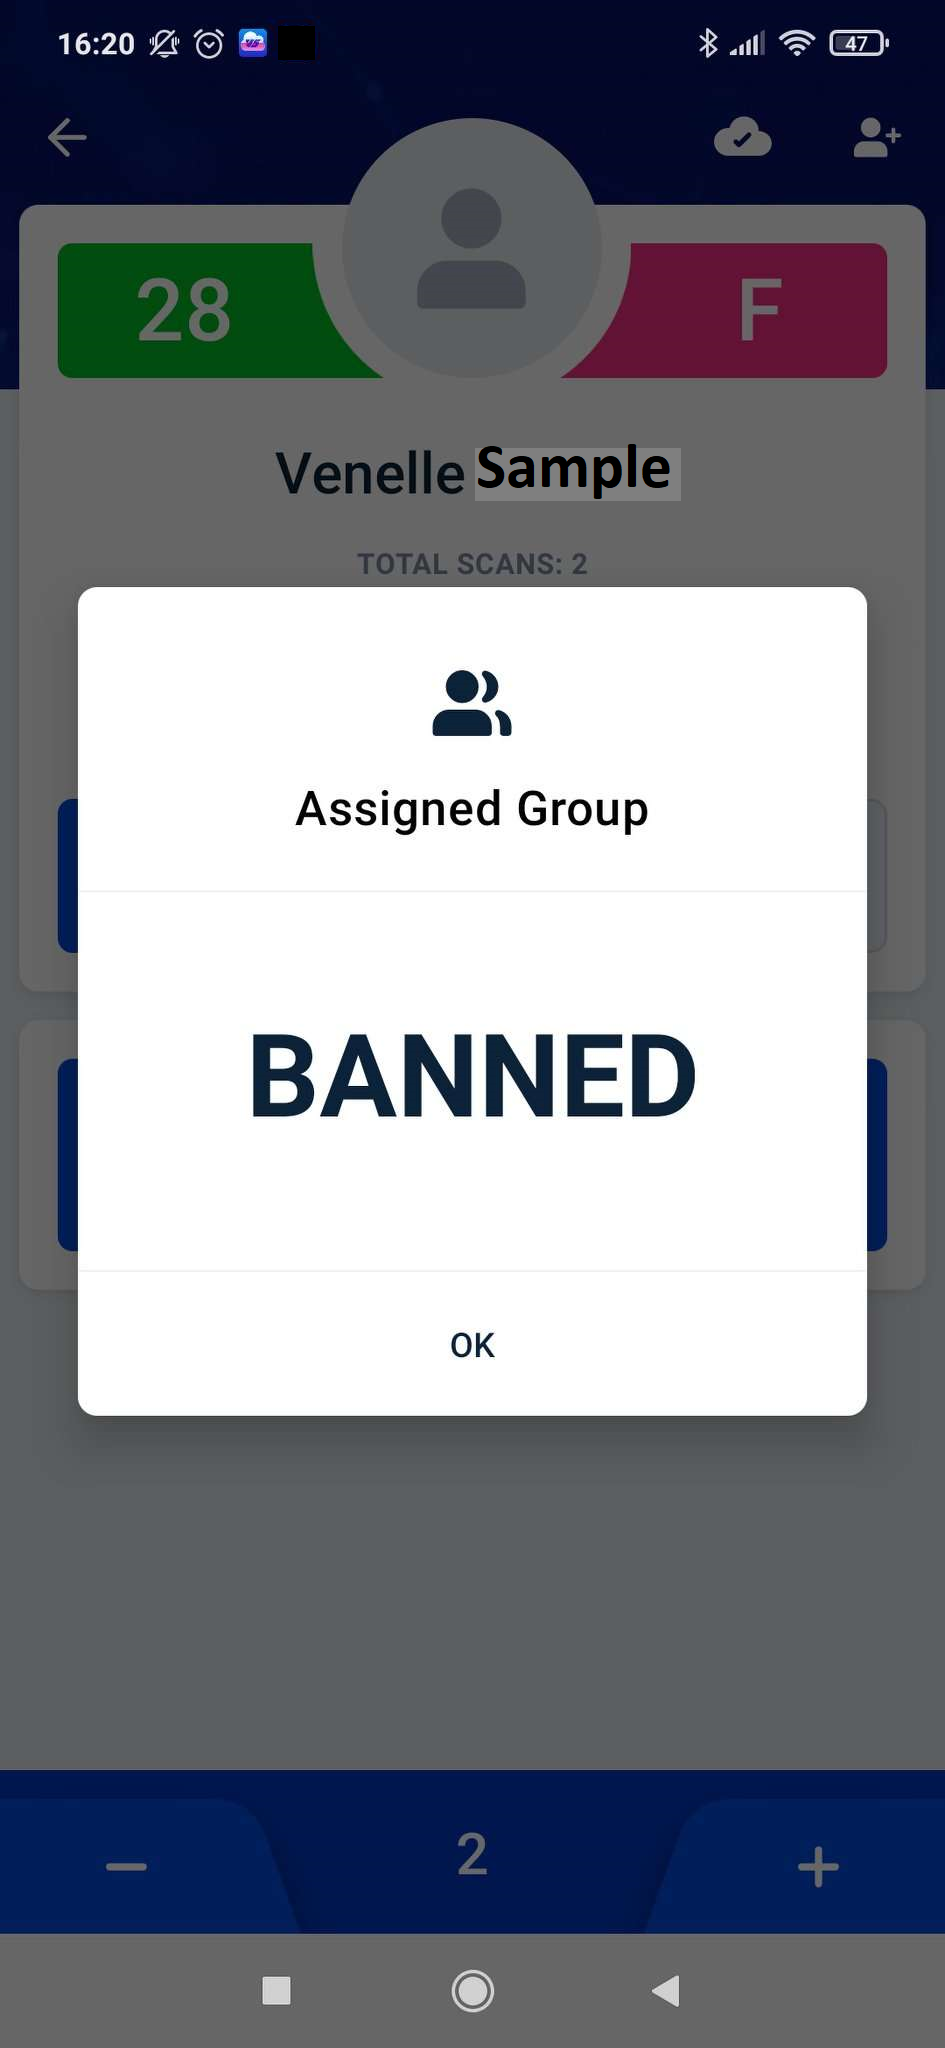
You can select a color for the group which will appear on the device in which the ID is scanned. You can choose between the extended list of color options. For example if you select red as the color of your “Banned” visitors, when that visitor scans in, red will pop up on the device stating that they are banned. It will also display any relevant comments you may have added explaining the reason for their ban.
Active
This column tells you whether a group is active or not. If the group is active, the button is scrolled on. If you want to deactivate the group, scroll off the button.
Alerts
This column gives you the option to send alerts, either a text or email to the host when a member from a particular group scans in. You can deactivate or activate this by scrolling the button.
Edit Click on the edit button to make changes to the group such as Group Name, Color, etc.
Group Settings
In this table you can select the group expiration by clicking on the Group Expiration field and selecting the option in the drop-down list.
Alerts
The Alerts page provides you with the alert list, which is something you can set up so whomever is scanning the ID’s, as well as the host is notified when a person from a particular group arrives. If you have marked someone as “banned” from your establishment, this notification will appear on the device at the point of entry.
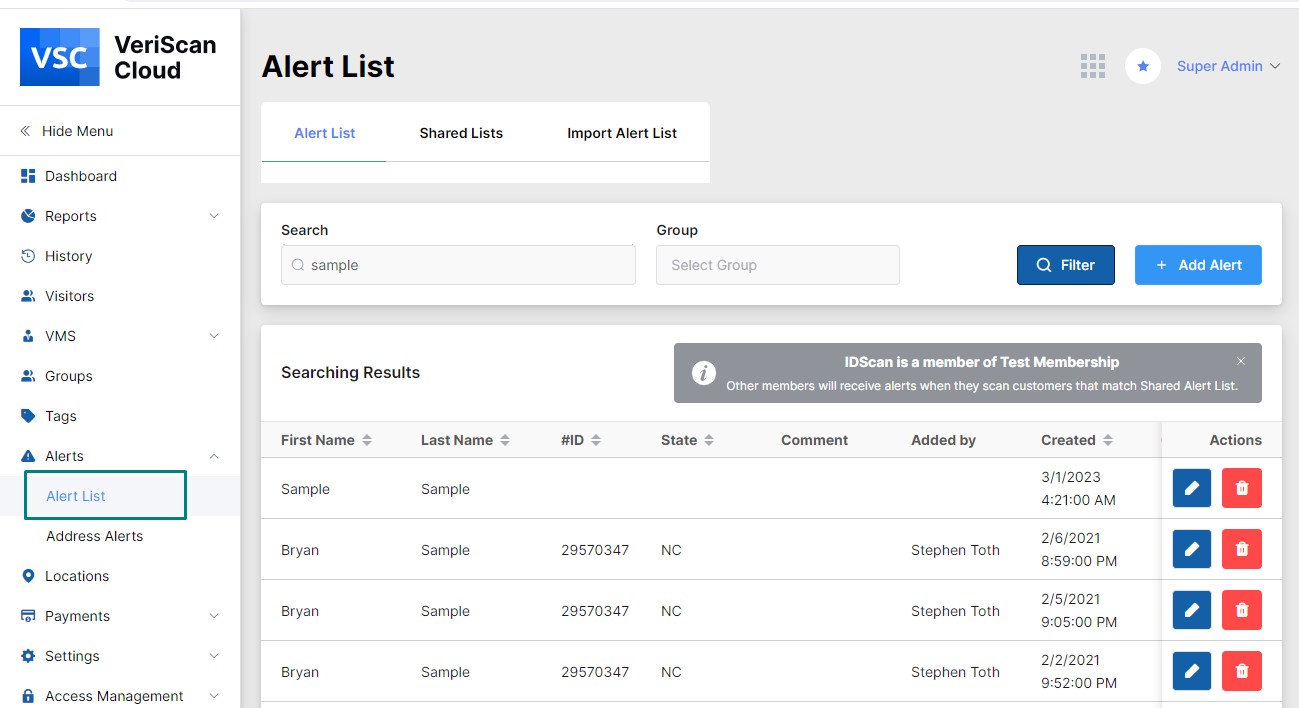

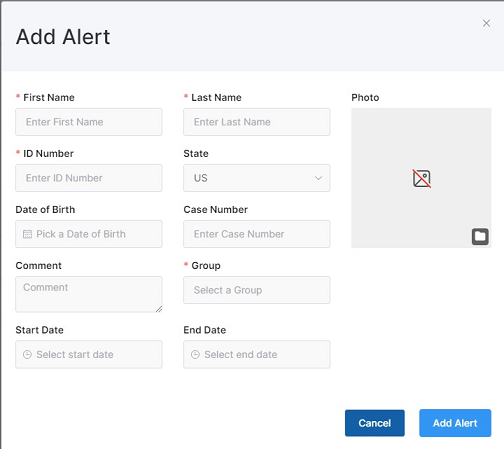
You can also customize an alert to pop up, based on a person’s first and last name. Do this by clicking on the “Add Alert” button. This way, you will be notified when a particular person enters your premises even though they have never been there before. You have an option to upload the photo of a particular person to compare it with the ID photo when the alert is shown when scanning the document.
Different locations of your business will be notified of a particular group member whether they have actually been to that particular location or not. For example, if Joe Smith has been banned from the Louisiana location of your business and tries to go to the Pennsylvania location of your business, the security in Pennsylvania will know not to admit him.
If you want to share the list of particular persons with other members, follow the Shared Lists link and click the “Add Shared Alert” button to fill in the information on a person. You are also able to download the template of the Alert List following the Import Alert List link and clicking the “Download Template” button.
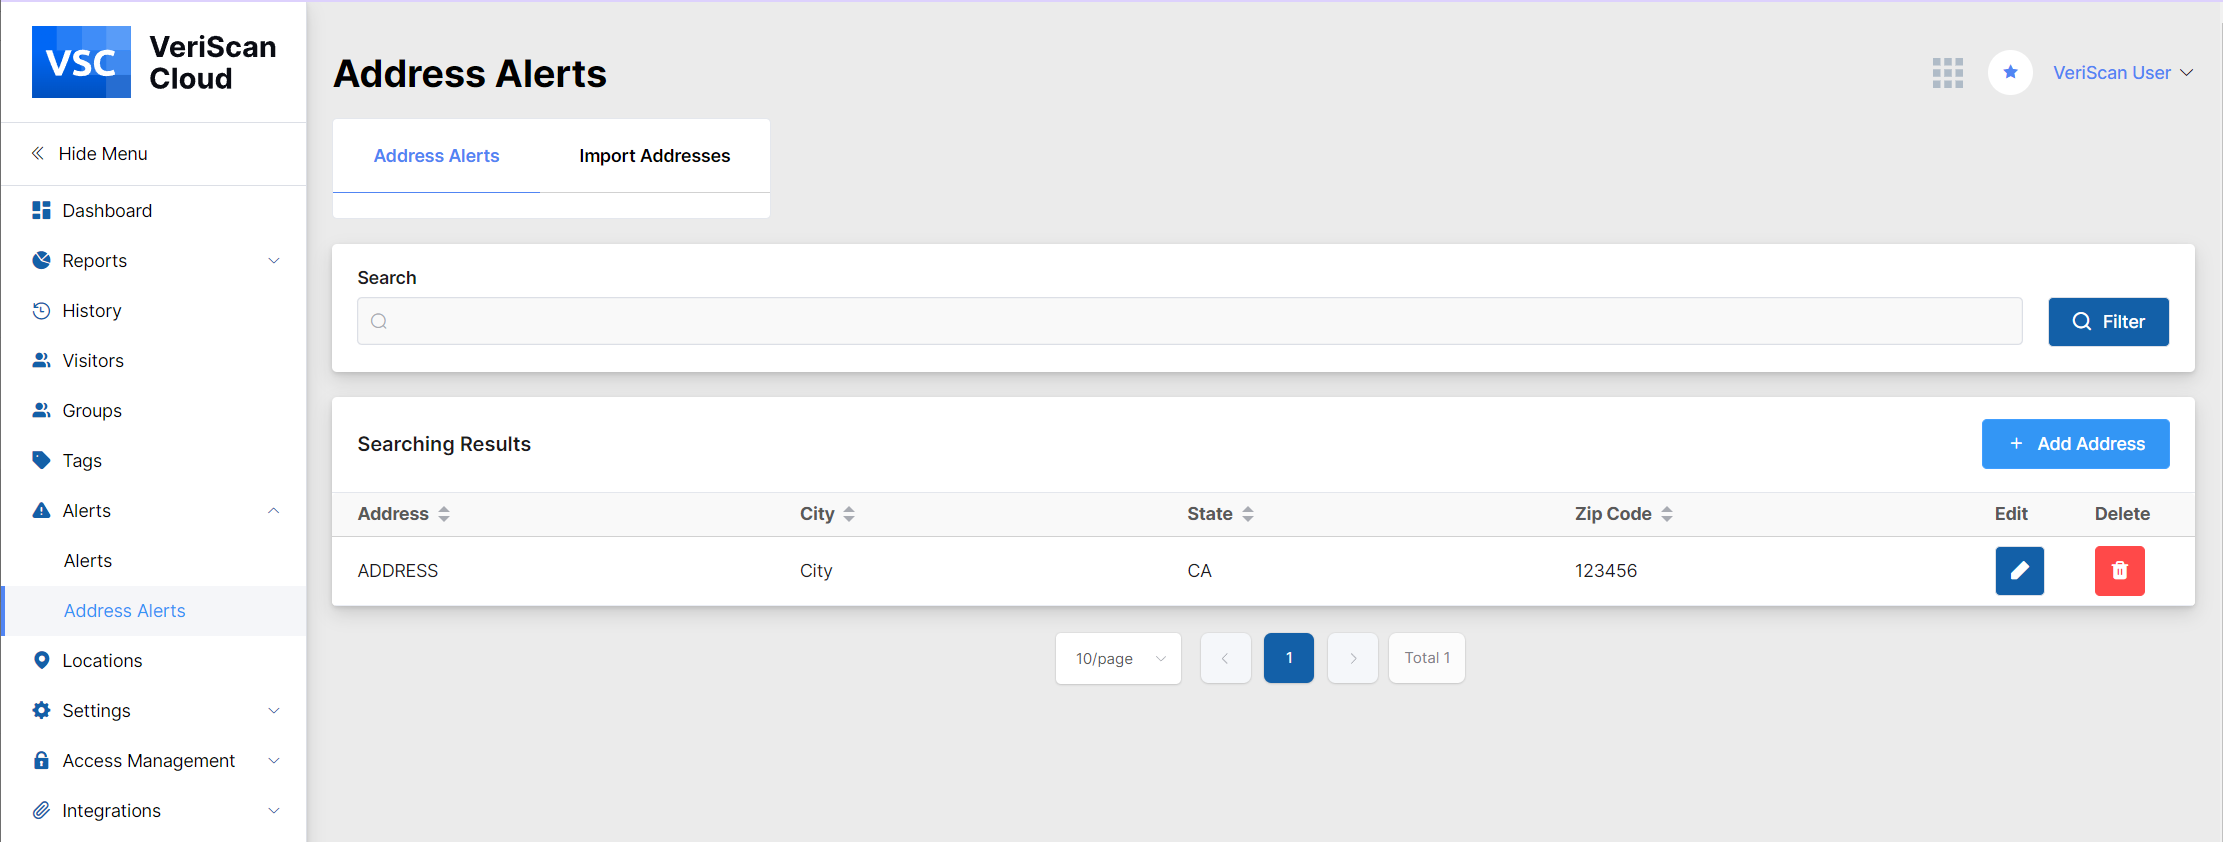
Address Alerts
The Address Alerts tab shows address alert list, which is something you can set up so whomever is scanning the ID’s, as well as the host is notified when a person from a particular address arrives. You can specify the addresses by clicking the “Add Address” button and filling the corresponding form or by importing address alert templates by following the Import Addresses link and clicking the Download Template button.