Installation
Install Node Package from NPM
$ npm install --save @idscan/idvc2
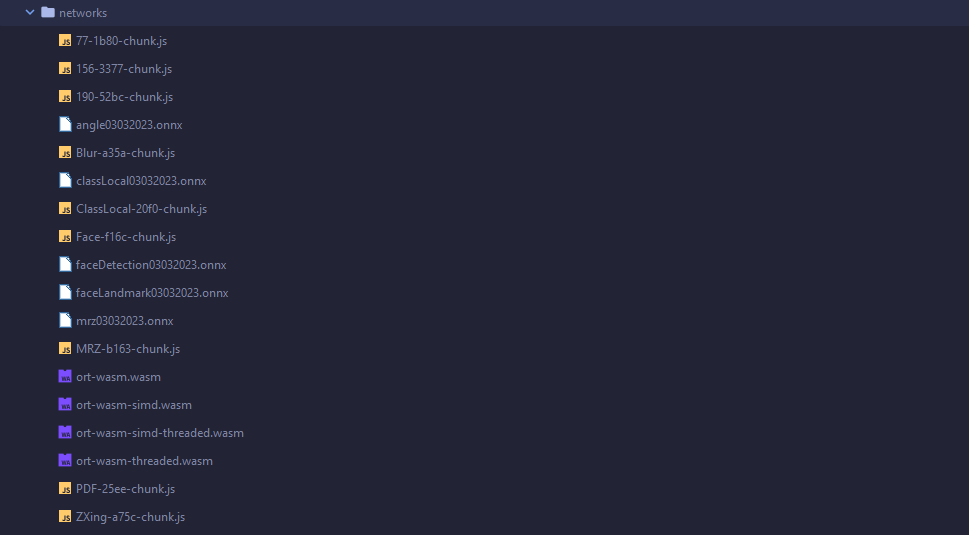
Copy the Files from the Networks Directory
After installing the Node package from NPM you will need to copy the networks folder from the Node package's directory to a location where static assets can be accessed at runtime.
Depending on the web server you are using to host your application the location to place the networks folder and its contents may vary, so we recommend referring to the relevant documentation. That location also needs to match the networkURL configuration setting.
Update the HTML File the Web Library Belongs On
After installing the Node package and placing the contents of the networks directory in their proper place you only need to make a small change to the HTML file where the Web Library is to be added like in the image below.

Add the Web Library Configuration
The last step is to add the configuration for the Web Library into your application's Javascript files which we demonstrate in our sample applications in Github