The Setup tab
It includes the following customizable functionality

Database Setup
VeriScan has a few different ways you can save your database depending on the overall setup of your business. To access these options, click the Setup tab and then Set Data Sources on the left side.


Local Database File
For single desktop installations and small businesses, you can store the database file on a local or network drive so multiple computers utilize it in a client server environment.
SQL Server
For a high number of transactions and/or multiple client machines, please consider using SQL Server 2008 or later. Please email support@idscan.net for further assistance.
Enable VeriScan Cloud
Cloud-based storage is available for VeriScan Online users.
You can sign up and learn more about VeriScan Online here: VeriScan Online .
Once you’ve signed up, make sure you log in with your mobile device login and password, and not your VeriScan Online website login.
If you’re unsure which login to use, refer to the Welcome email you received after signing up with VeriScan Online or contact support@idscan.net .
Open Data Folder

When you click on the "Open data folder" button, you will open it. The full way of this folder by default is C:\ProgramData\Nautilus\VeriScan

Logs folder
This folder store log files for each day of the program. They show the process of the program. In case of errors in the program they will be fixed in the corresponding file. This file may be required by our technical support for the most prompt removal of an error.

Raw Files folder
This folder store raw files after each scan.

Reports folder
This folder contains all yours report templates and all default report templates.

Settings folder
This folder stores the program settings files and backup settings files. If the configuration files are faulty they will be restored automatically using the same backup configuration files. In the restored settings file, user settings will be saved.

Unrecognized folder
This folder collects raw data from unrecognized documents and saves them in separate files.

Also you may store here the logo images and another work files.
Log settings
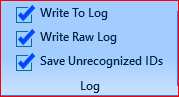
Write To Log
The program lets you save ID information to a log file. To view/export data, go to General→ View/Export Log. The file is saved in the following formats: Text, Unicode Text, HTML, or CSV (Comma Delimited File). You can open a CSV file with almost any program intended to work with data (MS Excel, MS Access, Lotus Office, for example). You can also import this file into any modern database.
The log file can save the following fields: Date/Time of ID scan, Full Name, Age, Gender, ID Number, City, State, Zip, Address, Date of Birth and Comments.
The log can be exported for all dates available or a certain period (such as a day or a week).
Please note that this option is NOT available by default.
Write Raw Log
This option allows developers to take a closer look at the actual data that is stored on the IDs that you scan.
Please note that this option is NOT available by default.
Save Unrecognized IDs
Any unrecognized cards can be saved in a special folder if this option is checked.
Sound


Use this option to alert the user about an underage customer via sound.
Allow Non ID Scanning

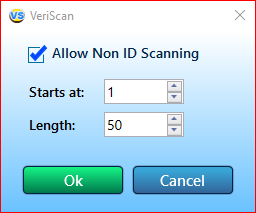
Working range of Starts at is - up 1 to 500 characters. Minimal Lenght is 1 character. Maximal Lenght is 50 characters.
The count of the number of characters to be displayed begins with the number of the character specified in Starts at.
Allow for other IDs such as school IDs or badges to be scanned as well.
Feature was developed for Honeywell Vuquest 3310g and KDC scanners. Later, the ability to work with scanners was added Eseek M250 & M280, 3M CR100 Series.
Station Name
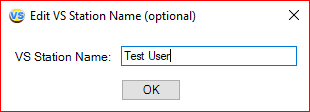
This feature is useful for users with multiple scanning stations, checkpoints, or locations, in that it allows for the categorization of scans by station. You can see the name of the station in the View/Export Log.

Company Profile
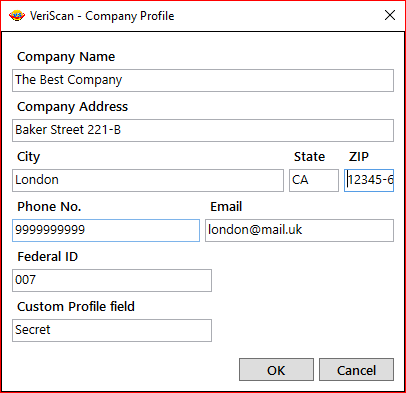
Input company information such as Name, Address, Phone Number, Email, and Federal ID.
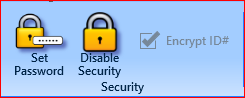
Security
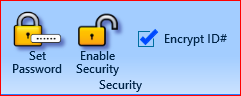
- Set Password
- Enable Security
- Encrypt ID#
Enabling security will prevent unauthorized access of restricted data. It will also disable most features that are used to modify the way VeriScan behaves.
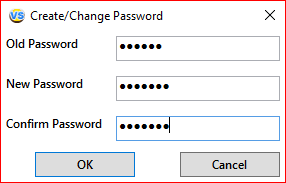
Set Password
Start off by creating a password (default password is the Enter key).
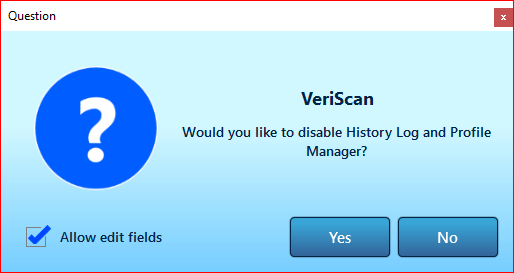
Enable Security
Then selecting Enable Security and click it.
There will be a window where there will be an option to add locking elements:
- Allow edit fields (with a tick)
- Disabling of History Log and Profile Manager (as a main question)
To disable security, simply click on Disable Security and type your password and press OK to unlock VeriScan.
Encrypt ID№
Enabling this feature will prevent VeriScan from displaying the ID numbers in your scans.