View tab

Age section
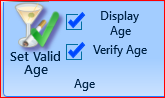
Set Valid Age

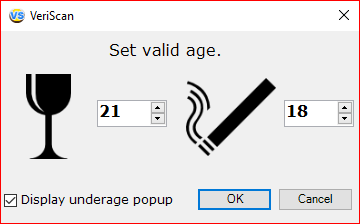 This option allows the user to flag underage visitors by displaying their age in red (overage will be shown in green). You can manually enter a number associated with Valid Age by selecting Set Valid Age from the View tab.
Display Age mode
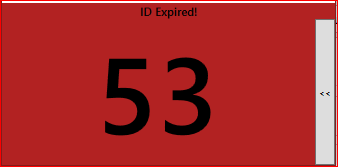
With Display Age mode
 ,
, 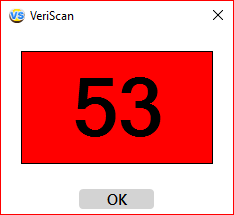 ,
, 
Without Display Age mode
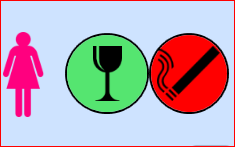 ,
, 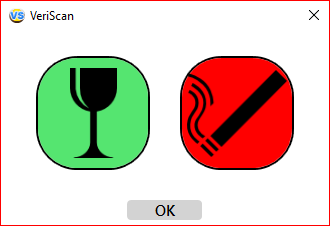 ,
, 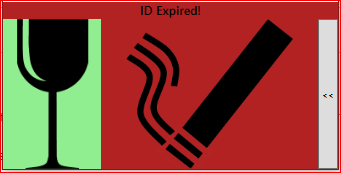
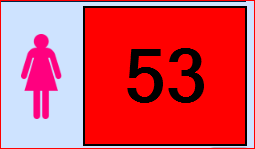
Under certain circumstances, a user may want to disable the actual age displayed on the computer monitor when running the program. If option Display Age is NOT selected then only the icons for drinking and smoking will appear when an ID is scanned: icon is red, if ID holder is under the age limit (determined in Setup Valid Age ) or icon is green , if ID holder is above the age limit. Again this feature is available as added insurance to protect patron anonymity. Please remember that this information will be available for later review in the log and custom reports section.
Under certain circumstances, a user may want to disable the actual age displayed on the screen when running the program. If the option Display Age is NOT selected, then only the icons for drinking and smoking will appear when an ID is scanned. The icon will appear red if the ID holder is under the age limit (determined in Set Valid Age ). If the icon appears green , the ID holder meets or is above the age limit. This feature is vailable as added insurance to protect patron anonymity. Please remember that this information will be available for later review in the log and custom reports section.
Verify Age mode
This option is set by default and allows a user to conduct age verification of customers. When age verification is not important, this option can be deactivated.
Profile Picture section
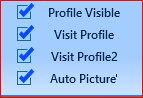
Profile Visible
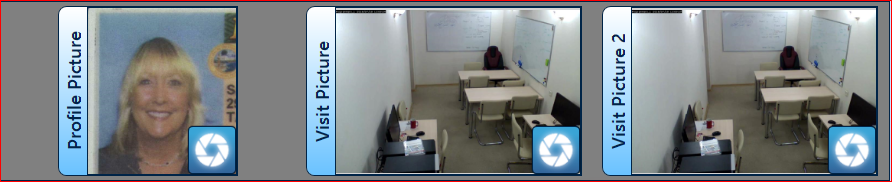
A profile picture is an original picture taken when an ID is scanned for the FIRST time. This option will allow the operator to compare the original picture stored in the database with a visitor’s appearance.
Visit Profile 1 and Visit Profile 2
Use this optional feature to photograph visitors every time their ID is scanned. Pictures will be stored in a database for future reference.
Auto Picture
Enables automatic photo capture with an attached camera via USB cable on an ID scan. It work with Visit Profile 1 only.
View section

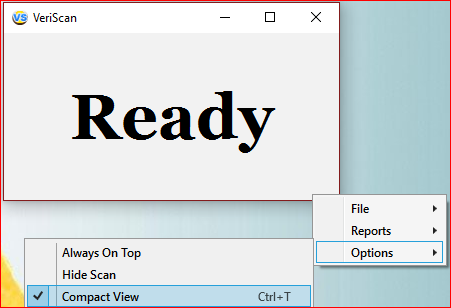
Compact View

Creates a small window that can be placed anywhere on the screen and display age, gender and validity of driver’s license. The compact view is especially useful when trying to limit the information displayed on screen to just mandatory entry information. This keeps sensitive information hidden from personnel and employees and protects the anonymity of patrons.
To disable Compact View, right-click the window and choose Options → Compact View . Alternatively, you can press the keyboard combination of CTRL + T to enable and disable Compact View.
Display Button "Saves Changes"
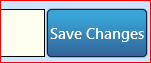
It shows or hide this button at the main window.
Always On Top
VeriScan windows will remain visible regardless if it is active or not.
Groups Filter
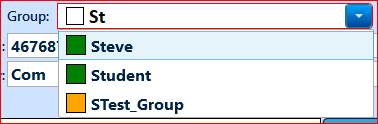
With a large number of groups, you can quickly find and select the right group with regard by the register.
Hide Scan
Disabled Hide Scan mode:

Enabled Hide Scan mode:
Window with settings:
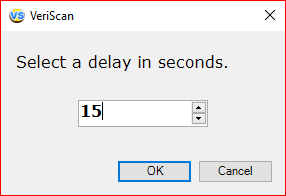
Use this option to set the number of seconds results from an ID scan should stay on the screen. Default value is 5 seconds. Use 0 seconds to keep results on the screen until the next scan.
Note: Count of time starts from the moment the document is scanned, and not from the moment of completion of work with documents.
Display/Capture Amount

This mode show or hide the text field, in which information will be saved and showed in another scans. This window is used if you want or need to separately record brief information.
Display WO#/VIN

This mode show or hide the text field, in which information will be saved and showed in the same scan.
The WO # field requires 7 digits. Only numbers can be entered in it. If you enter less than 7 digits, the field turns yellow. The normal color of the field is white.
The VIN field requires 17 characters. It can be entered letters, numbers and symbols. If you enter less than 17 characters, the field turns yellow. The normal color of the field is white.

Note: The yellow color of the field indicates that the data is not completely entered.
Display Address
Address is displayed upon ID Scan if it's enabled.

Address is hide upon ID Scan if it's disabled.

In/Out section
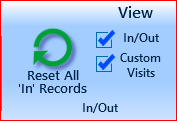
Reset All ''In'' Records

"Reset All "In" Records" button set "Out" for all profiles in system. For it you must click the button and select "Yes".
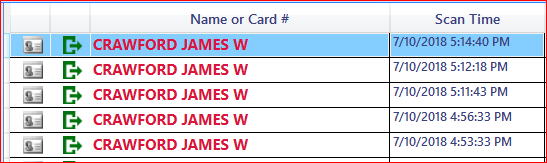
In/Out mode
Enabling In/Out allows the user to monitor individuals logged as “in” and “out” of the premises. The red door indicates that the user has clocked in, while the green door indicates that the user is clocked out.
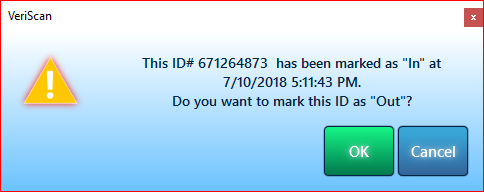
If an individual is logged as in (red door) and the ID is scanned again afterwards, you will receive a prompt asking if you want to mark the ID as “Out”.

If the "Yes for all" option is turned on, then every second scan of profile will automatically be set to "Out"
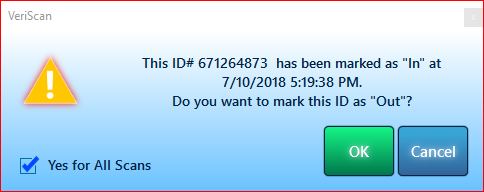
Note: You will not be able to use function "Yes for All Scans" if you use "Custom Visits" mode
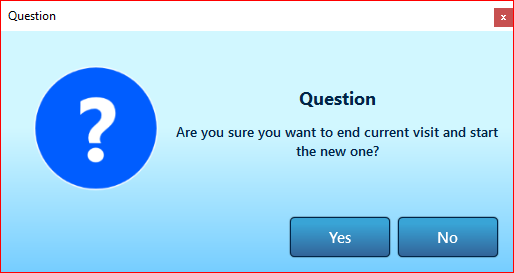
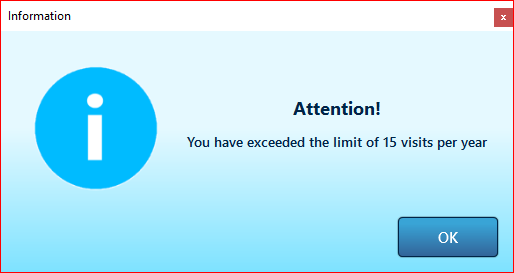
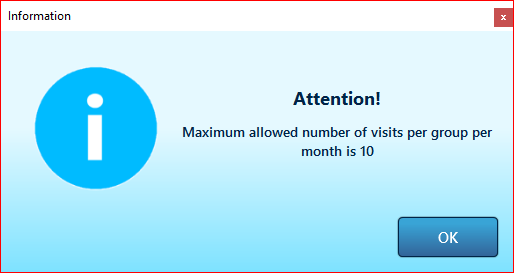
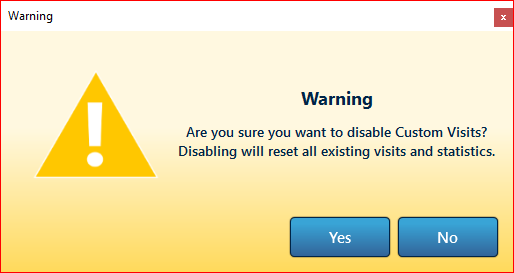
Custom Visits mode
It works on the principle - one visit is one group. Allows you to remember the beginning and the end of the visit.
Alerts section
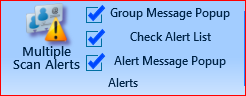
Multiple Scan Alerts

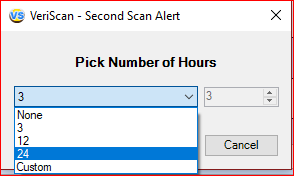
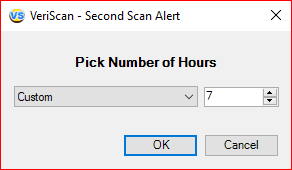
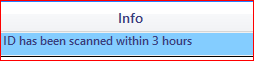
If you have a business that needs to detect multiple scans of the same ID within a certain number of hours, this task is accomplished via the Multiple Scan Alerts option.
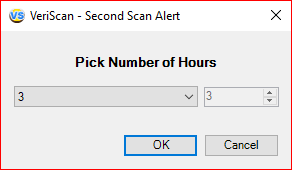
Simply program VeriScan to alert you about a second (third, fourth, etc) scan via the Multiple Scan Alerts menu (min. value with Custom value = 1 hour).
And a warning message will appear the next time the very same card is scanned.
A warning message on the Main screen in comments of profile:

A warning message on the Main screen in history:
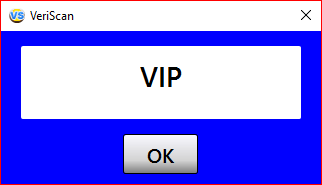
Group Message Popup
When enabled, displays group in a separate window on ID scan.
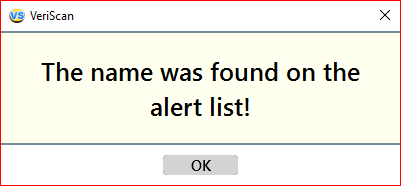
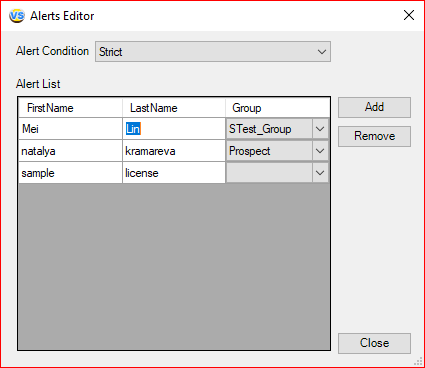
Check Alert List
Sends out alerts when preselected IDs are scanned.
Configurable in Alerts Editor (Edit Alerts in General tab)
Alert Message Popup
If this mode is checked you would be see a message in the window:
Else, just text information:
- A warning message on the Main screen in comments of profile:
- A warning message on the Main screen in history:
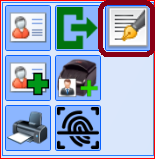
Fingerprint and Signature section
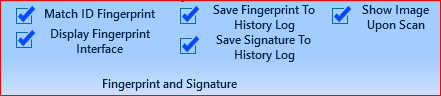
Displays UI for fingerprint capture functionality. Again, this feature is available for record keeping and additional identity verification.
VeriScan currently supports the U.are.U 4000 and 4500 models, as well as the Gemalto (3M) CSD200i. The drivers can be downloaded here: http://idscan.net/support/driversfirmware/ .

Match ID Fingerprint mode
Allows the user to search for a client’s profile upon fingerprint scan.
This mod offers two options for working with the profile - with fingerprint verification and without it.
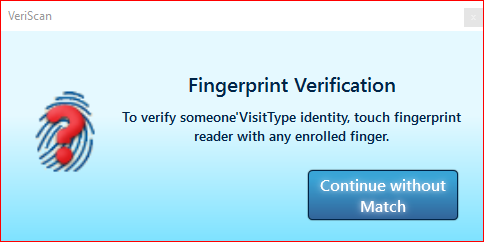
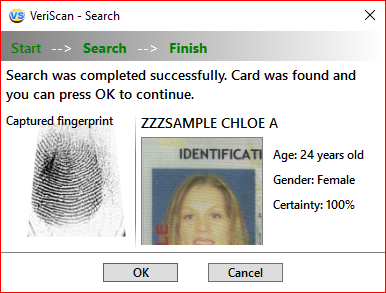
If it is decided to perform a fingerprint test and the result is positive, we will see two marks in the profile information window on the main screen.


Else (if you are click on "Continue without Match" or you are close this window with "red cross")


Also, you can start working with the visitor's profile through fingerprint scanning if a fingerprint has already been added to the visitor's profile previously.
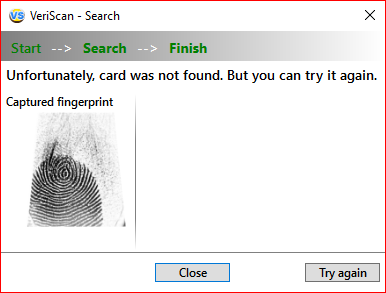
If no matches are found in your database, you will see another window. In which you can choose the option to check the imprint on the database again or finish the work.
Display Fingerprint Interface mode

Save Fingerprint To History Log mode
Creates a record of fingerprint saved in the history log.
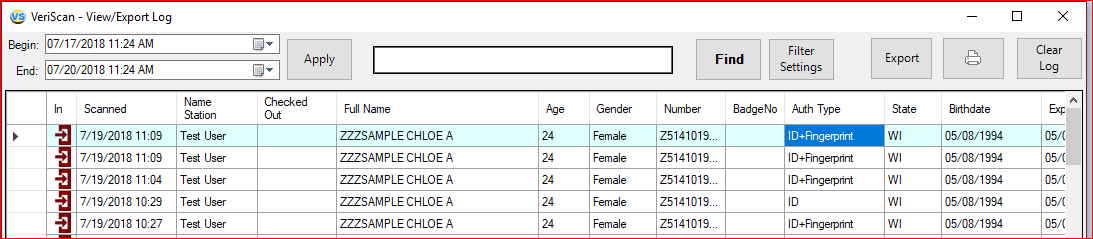
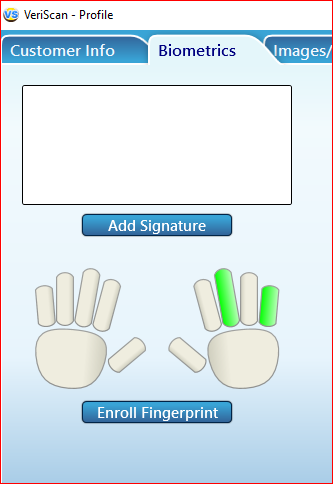
This can be accessed via the Biometrics tab under the Profile Manager.
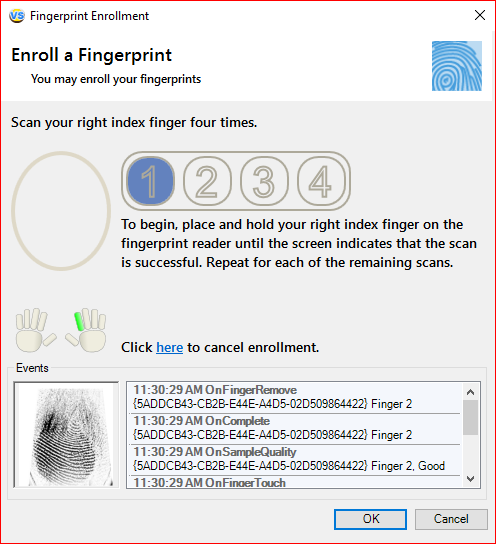
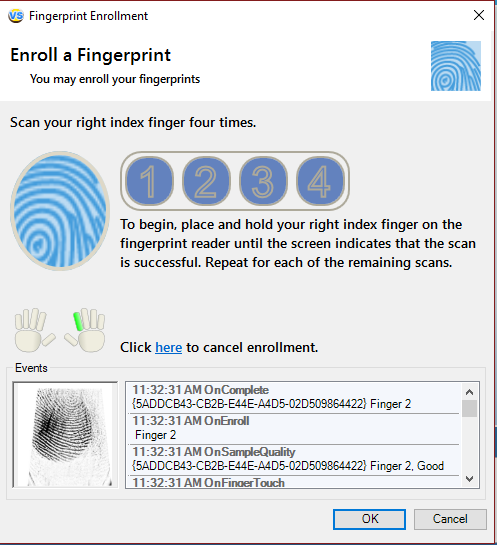
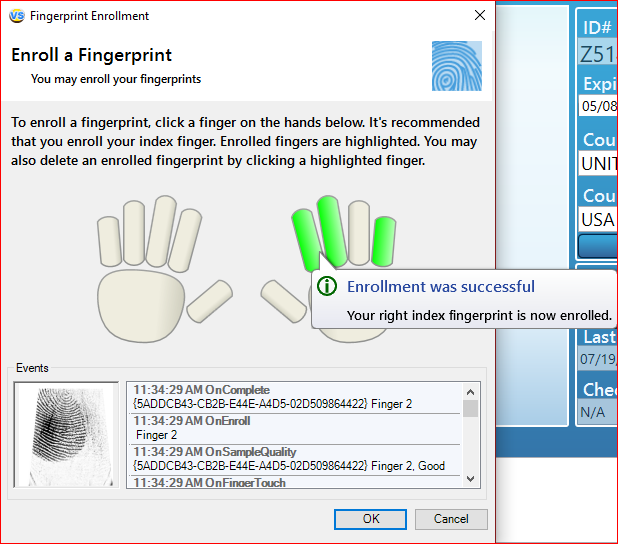
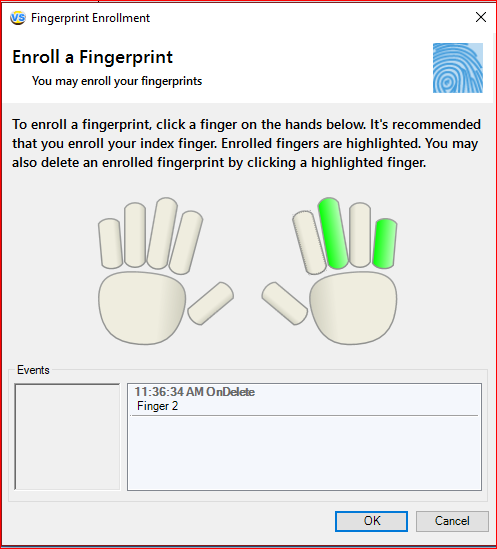
To add a fingerprint to the profile, open the Profile Editor and go to the Biometrics tab. Then click on the button Enroll Fingerprint.
To complete the addition of fingerprints in the profile, follow the instructions in the window that opens. You can add as one fingerprint and all ten.
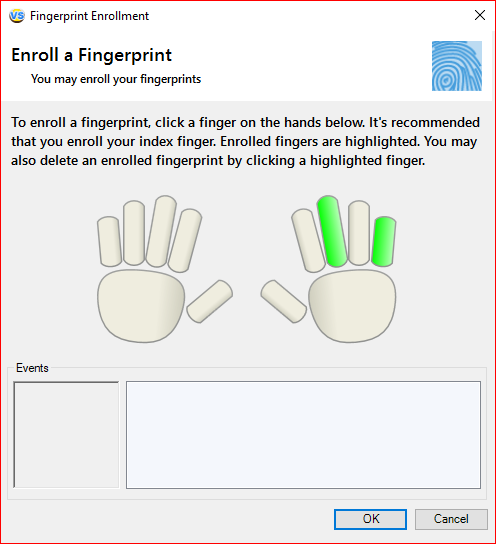
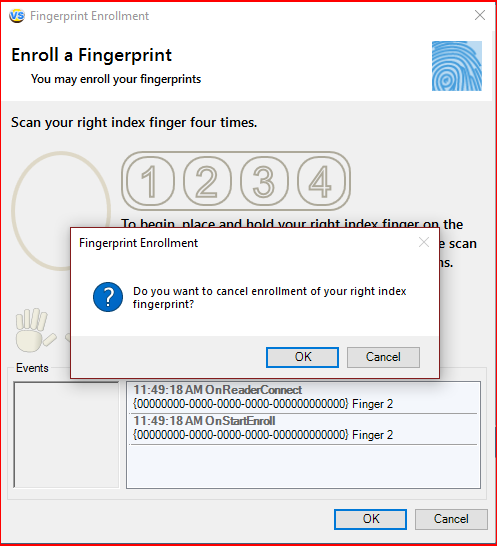
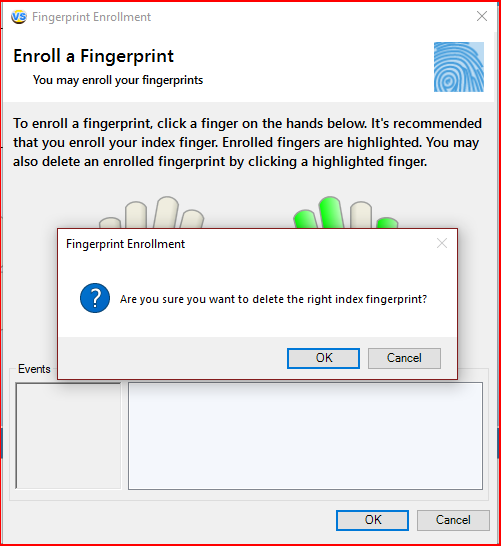
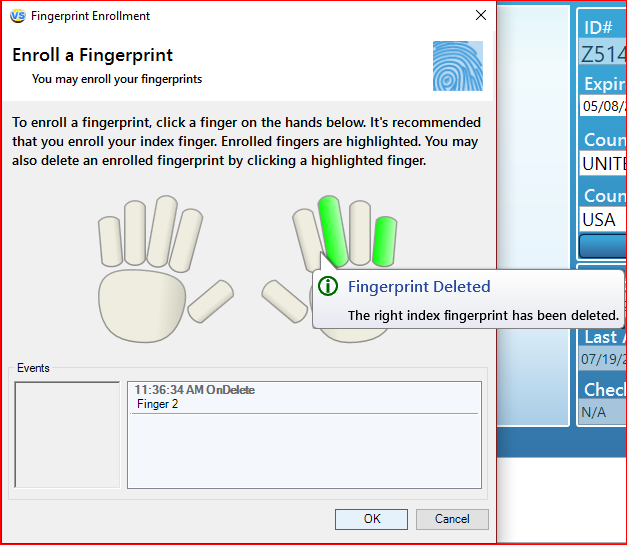
If you want to delete the added fingerprints, also enter the window for adding fingerprints and click on the prints that you want to delete.
Save Signature To History Log mode
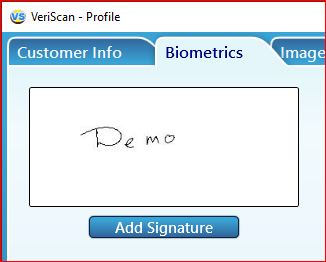
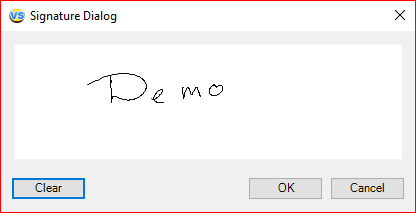
Displays interface for signature capture. When using an attached signature pad the signature image will be shown here. This may also be accessed via the Biometrics tab.
Creates a record of the signature in the history log. This is an additional security and verification feature, which can be useful for the signing of waivers and contracts.
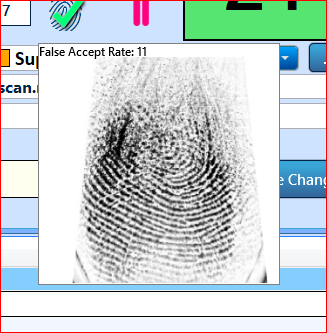
Show Image Upon Scan mode
Show image with fingerprint after scan of finger.